
As Earth Day approaches, we prepare to celebrate the planet that gives us so much. It’s a time to reflect on our daily actions and how they impact our environment. One way to reduce your Read More
Weatherization
View All
Energy Efficiency
View All
Saving Energy
View AllSaving Water
View All
LED Lighting
View All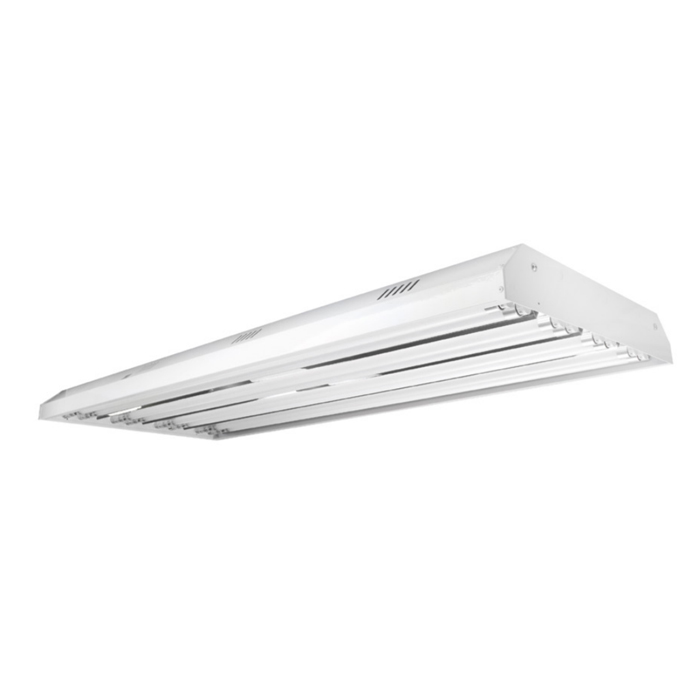
LED Ready T5 Fixture: What it is and How it Saves
When looking to increase building lighting efficiency, the LED ready T5 fixture should be considered at the top of the list. These energy and cost-efficient fixtures make replacement quick, and maintenance simple.
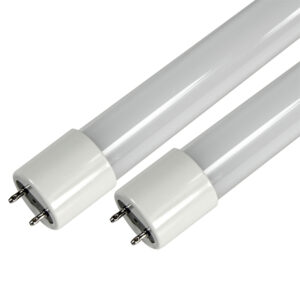
Choosing a Double or Single Ended T8 LED Tube
Knowing whether you’ll need a double ended T8 LED or a single ended T8 LED tube for your lighting project gets you on the right track to completing the ideal renovation.